How to Build the Best Home Karaoke Room: A Step-by-Step Guide
To set up the best home karaoke, you need a solid plan and key parts that make any room an entertainment spot. This guide shows the must-have parts and cool extras for your DIY karaoke room.
Main Parts for Your Home Karaoke Space
The core of a great karaoke room begins with these key items:
- Top Sound System: Install high-end audio gear like speakers, a subwoofer, and an audio interface.
- Karaoke Gear: Buy a reliable karaoke machine or software full of songs.
- Microphone Choices: Choose great mics with clear sound.
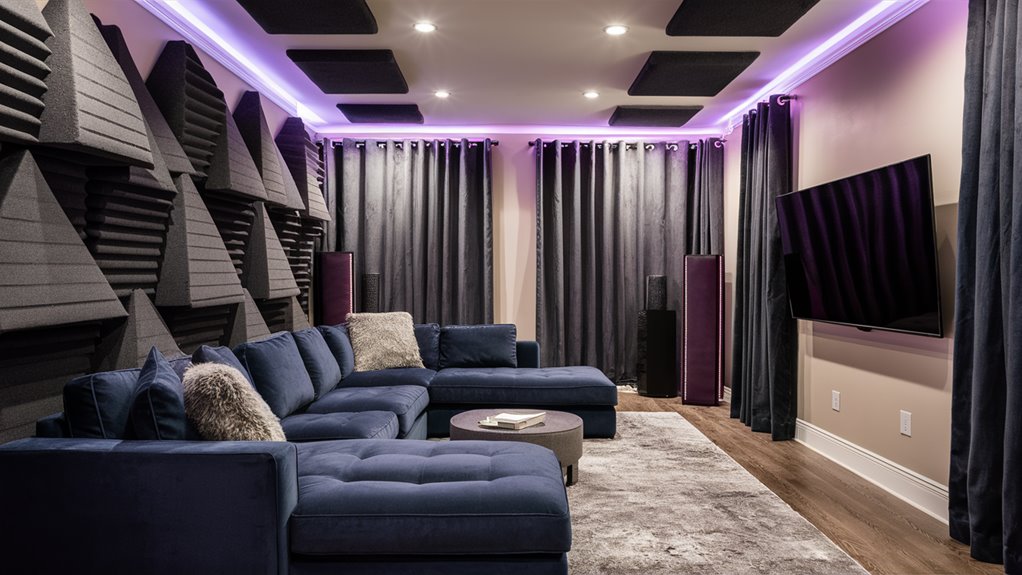
- Sound Improvement: Use panels and stuff to enhance sound.
- Screen Setup: Put up a large TV or projector screen for lyrics. Common Karaoke Mistakes: Important Things to Avoid for Beginners
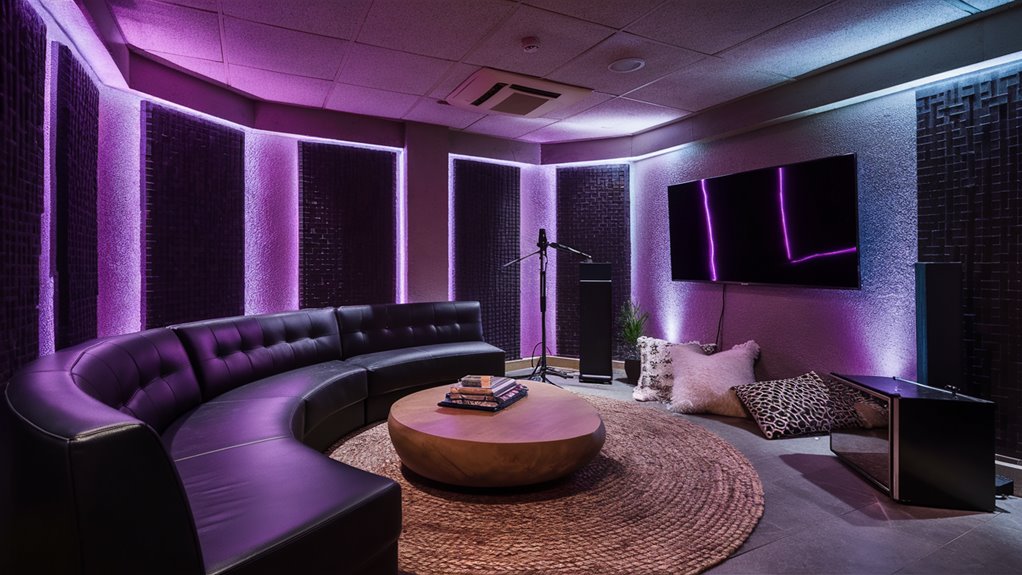
Crafting the Right Atmosphere
Turn your room into a vibe with these atmosphere-enhancing items:
- LED Lights: Install color-shifting LED strips and smart bulbs for awesome lighting.
- Stage Area: Create a stage with a raised platform or special flooring.
- Seating Options: Set up comfy seats that invite chats.
- Storage Solutions: Build neat spots for gear and extras.
- Air Management: Maintain good air flow and temperature for comfort.
Top Features and Enhancements
Boost your karaoke sessions with these upgrades:
- Multi-Zone Audio: Create separate sound zones for singers and viewers.
- Advanced Mixing Board: Add a digital mixer for precise sound control.
- Recording Gear: Include tools to record performances.
- Phone Connectivity: Set up phone syncing for playlist management.
- Soundproofing: Install excellent soundproofing to reduce noise.
This complete plan ensures your home karaoke room provides top fun while holding high sound standards.
Details of Sound Systems
Key Sound System Details for Karaoke Rooms
Pro Sound Gear Setup
The sound system design is vital for any high-quality karaoke setup. A powerful amp that suits mics and music is essential. Top wireless mics are needed, at least two with good noise reduction and clear voice projection.
Types and Placement of Speakers
A 2.1 speaker system delivers superb sound in home karaoke spaces. This setup includes:
- Two main speakers for balanced sound.
- A subwoofer for rich bass.
- Smart placement of speakers at ear level.
- Angles directed towards the singing area.
- A corner position for the subwoofer for strong bass.
Sound Handling and Media Management
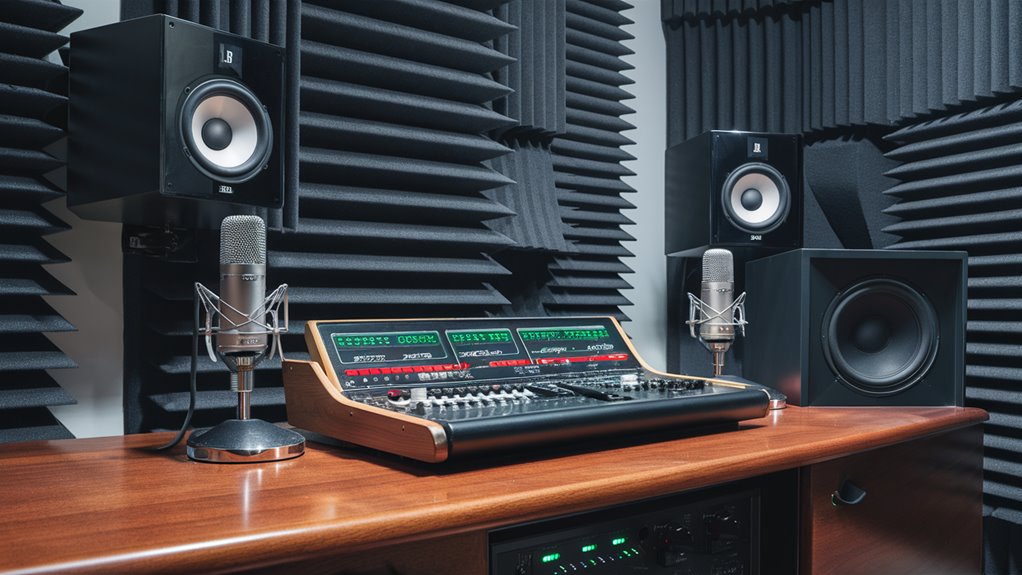
Digital mixing capabilities are crucial for making good sound. Main components include:
- Compact digital mixer with sound effects.
- Reverb and echo to enhance singing.
- A karaoke media player that supports various formats.
- A good balance of voice and music.
- A clear display system with HDMI for easy lyric viewing.
These elements join to give an immersive karaoke experience with amazing sound and professional performance.
Room Setup and Layout Tips
Ultimate Guide to Pro Karaoke Room Setup and Layout
Ideal Singing Area
Creating the perfect karaoke spot starts with a dedicated singing space at least 6×8 feet. This ideal stage lets singers move and engage with the audience. Place your clear display screen at eye level, 8-10 feet from the stage for the best view. 호치민 퍼블릭가라오케
Smart Speaker Arrangement
Top speakers should be up at ear height on both sides of the screen, angled towards the center of the room. This sound arrangement spreads sound well across the space. The speaker positions are crucial for clear sound for both singers and viewers.
Viewer Setup and Viewing Experience
Arrange a U-shaped seating setup around the stage, keeping a 4-5 foot gap from singers to the front row. This smart arrangement boosts audience enjoyment while ensuring clear views for everyone. The comprehensive setup creates a cozy atmosphere, great for big karaoke moments.
Optimal Sound Treatment
Sound management means considering room size. Position the stage area along short walls in long rooms to reduce sound bounce. Use professional sound panels on walls to control echo, and choose flooring covers like carpets to absorb sound. Ensure all sound cables and power connections are safe and tidy.